Guest Blogger: Lace Tank Tutorial from Kate Johnson

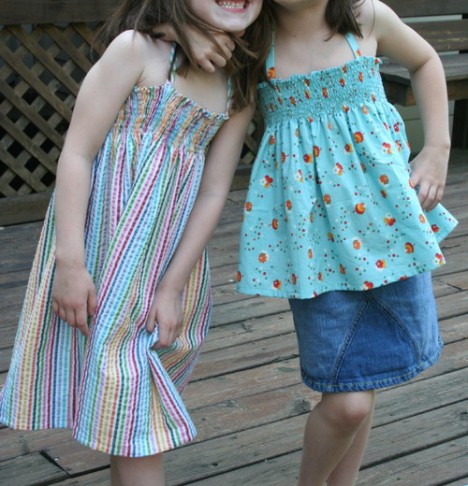
Finishing off the Guest Blogger series is my wonderful sister, a crafting diva, who is a huge source of inspiration to me.  Everything she makes is adorable, and Maddie and Sammy are always the best-dressed kids around!  Take a look at that hat Sammy is wearing in the image above, Kate made that!  She has to have made over 20 hats now (all for Sammy), so if you are in the market for a baby hat, let me know and maybe I can convince her to start selling them!!  Enjoy this great tutorial for a simple lace tank top.  This would look so cute with my Lace Panties!!  Thanks, Kate!!

_____________________________________________________________________

Lace Tank Tutorial

from Kate Johnson (my sis)

I’ve been sewing my daughter Maddie lots of cute, reversible summer skirts with bright colors and busy patterns.  The only problem is, it’s really hard to find a  top to go with such colorful bottoms.  I designed this simple tank to go along with her skirts, and realized it would be perfect and easy for an adult size too!  I’ve gotten them down to about 20 minutes each, so I can make  one to match any skirt.  I’ve also used this same pattern for the top of a dress, and then attached a silk chiffon skirt to the bottom for a more dressy look. Enjoy!

Materials:

– Stretch lace – see panties tutorial for a great place to buy stretch lace- you will need enough to go around neckline and armholes- use tape measure to determine amount to purchase.

– Knit fabric or old tee-shirt- amount depends on size tank you are making

1.  Draw out pattern (one front and one back).   Take your favorite tank and simply trace the outline.  A trick I use to outline the front neckline is I use my seam ripper or other sharp tool, and poke little holes all along curve, onto paper below, then connect dots with pen.  After, add 1/2″ seam allowance everywhere except neckline and armhole (you will be adding lace here so no seam allowance is needed), and 1″ for bottom hem.  I am making a toddler size in the pictures (click images to enlarge).

2. Cut out pattern.  Test your knit fabric to see which way it stretches most, and cut out so that your width is stretchy (so when you put it over your shoulders it will stretch for you).

3. Cut lace for front and back neckline.  On right side of knit, I like to pin the lace to raw edge of neckline with a slight stretch- not enough that your knit gathers but just enough ensure your lace will not bunch or sag. Sometimes I don’t even pin or cut,  I just start sewing it on with a very slight stretch, then cut when I get to the edge.

4. Using a zigzag or stretch stitch, sew lace on to knit- once right along raw edge of knit and once right along edge of lace.

5. Right sides together, sew front to back at side seams of tank.

6. On right side of tank, pin lace to armhole, extending from front of tank to back in one long piece.  Sew as in step #4. Repeat with other armhole.

7. Right sides together, sew front to back at shoulder seam, taking care to line up lace.

8.  Press bottom raw edge 1/2 inch towards wrong side, then again, and hem.  Or, do as I do and leave as raw edge! It’s for a 2-year-old, come on, no one will notice! Enjoy!

Guest Blogger: Trivet Tutorial from Kari of Handmade Mommy

I first met our next Guest Blogger, Kari from Handmade Mommy, when she won my Allmodern.com Giveaway.  She was so excited and decided right away to join in my Pattern Challenge.  Kari’s a super sweet mom who’s totally crafty-minded.  I follow her blog and always look forward to reading her posts and seeing what cute things she’s made.  Look at this adorable fishing reel bag she recently made for her husband!

Thanks, Kari, for this great tutorial!  Those trivets are so fun, I can’t wait to try it!

_____________________________________________________________________

Quick & Easy Kitchen Trivet Tutorial

from Handmade Mommy

Hi there! I’m Kari from Handmade Mommy and am thrilled to be hanging out here. I’m sure Sarah is having a blast galavanting about in Europe and will bring back some great photos for us. But, in the meantime, here’s a little tutorial to keep your hands busy…

Awhile back, I made some coasters (beer coasters, to be exact) as Christmas gifts. Ever since then, I’ve been wanting to do something else with ceramic tiles…I just couldn’t decide what. Then a blogging friend suggested kitchen trivets. Eureka! And kitschy retro kitchen trivets would be even better. So I hauled my slightly unwilling boys to the hardware store and picked up supplies. If you get the bug to make some, here’s what you’ll need:

Supplies:

-One 6″x6″ matte finish ceramic tile
-One super cute vintage image
-Spray adhesive
-Clear Gloss Spray enamel
-Adhesive bumpers for the the bottom of your tile

It helps if you have a slight addiction to old books and just happen to have vintage cookbooks lying around with great images buried in them. Such as the little gem I found in The American Woman’s Cook Book (copyright 1944, edited by Ruth Berolzheimer). Apparently, electric mixers were still a bit of a novelty back then; if you look closely, the text says “The machine beats time as well as batter while you supply the brain that makes the cake.” I don’t know about you, but I’ll take praise for my kitchen smarts wherever I can.

1.  First, print out your image on regular printer paper and cut it to size. Then, spray the back with adhesive (this is much easier and less messy than spraying the tile itself). Make sure to get a really good coat on the paper and let it get tacky for a few seconds (follow label directions).

2.  Align your paper on the tile and smooth out any air bubbles with a roller, spatula, or the highly specialized tool, the credit card.

3.  Next, spray the tile with your clear enamel. Several light coats a couple minutes apart works well. I did it just until the paper started to look glossy and then walked away. Then I waited an hour or so and did this again. Let your enamel dry.

4.  Stick your little bumpers on the bottom so your trivet doesn’t scratch the table. And you’re done!

Now admire your brand new trivet and use it with pride!

Thanks again for having me, Sarah!

Guest Blogger: Applique Tutorial from Beth of Lemon Cadet

Today’s Guest Blogger is Beth from Lemon Cadet.  Beth is a blogging veteran (going strong since 2006!!) whose blog focuses on what various projects she’s got going on at the time.  Oftentimes this includes stories of the latest craft fair she participated in, photos of the seriously cute and quirky items she’s listed in her Etsy Shop, or links to the numerous sources who have featured her work (Parents Magazine, Small Magazine, ohdeedoh, The Storque: Handmade Kids, Ikea Hacker….to name a few!).

I’m a bit obsessed with the cute things she’s selling in her shop.  The adorable bean romper in the collage above is available from her shop here, and modelled by her oh-so-cute daughter, Zadie.  Beth’s clothing features a lot of appliqués (an applique is when a piece of fabric is sewn onto another piece of fabric, to create a design), which makes her the perfect source for an Appliqué Tutorial!  Thanks for the great instructions, Beth!

_____________________________________________________________________

Appliqué Tutorial from Lemon Cadet

Materials:

-Wonder Under 805 (my fusible interfacing of choice)
-Tear-away interfacing (I’m too lazy for this)
-Needle (knit or regular, more on this later)
-Poly thread (cotton thread may mess with the shrinkage)
-Plain garment that needs some jazz (or the supplies to make a garment from scratch)
-Fabric
-Scissors (not your fabric scissors)
-Iron (don’t use the steam setting, listen to me and don’t learn the hard way)

Things to consider:

Needles. I have found that my machine sometimes likes a knit needle for appliqué onto a knit fabric and sometimes it does not. It’s best to do some tests. Every machine has its own issues and you just never know until you try.
Tear-away interfacing. This is really helpful if you are stitching onto knits but I never bother with it. Practice makes perfect and saves time and money.
New construction. If you are wanting to appliqué onto a garment that you are constructing, consider carefully the placement of the embellishment. It may be easier to appliqué on a piece rather than the whole thing – especially with pants. You probably won’t be able to get a pant leg where it needs to be in the machine to appliqué after you’ve sewn up your seams.

Let’s get started:

1.  Iron your Wonder Under to the back of your design fabric. It helps to have your pattern ready so you’ll know how much to cut.

2.  Pin your pattern pieces to the Wonder Under and cut. You should not use your good scissors as you’re cutting through paper, gluey stuff, and fabric. I have a special pair of scissors just for this. Nothing dulls scissors faster than this combo.

3.  Remove pins and set the pattern aside. Peel the Wonder Under backing paper off of the design and place it onto your fabric.

4.  Iron in place.

Time to stitch:

1.  Do a test of your zig zag stitch. Play around with it a little bit until you get a look you like. A bigger stitch width and a longer stitch length will allow for more fraying. For the outside of the bunny, I used a 3 stitch width and my stitch length is set on the last (longest) line of the buttonhole stitch.

2.  Loosen up your presser foot pressure so it’s easier to turn the corners.

3.  First, make a tack knot by doing a couple of straight stitches in place. Then move your stitch selector to the zig zag and go carefully around the outside of your shape.

4.  Keep your needle in the down position while sewing. That way if you need to pick up your foot to turn a corner, you won’t get off track with your stitches. Hint: when sewing around a convex turn (like around the top of the bunny ear), keep your needle on the outside of the fabric. When sewing within a concave turn (like that part of the head between the two ears), keep it on the inside. It will keep a better pivot point and won’t be noticeable at all.

5.  If you make a bit of a mess, don’t worry; it won’t be so noticeable after the wash.

6.  When you’re finished, make another tack knot.

7.  Switch colors and do a second layer if you have one. A dirty little trick is to choose a bobbin color halfway between the two topstitches so that you won’t have to change it. Ha ha.

8.  Depending on your design, you might be finished. Or you can keep on going and do some embroidery (you won’t need a hoop as the fabric and the interfacing combine for a nice surface) or some stenciling with freezer paper. The options are endless.

Guest Blogger: Tutorial Roundup by Pin. Sew. Press.

Pin. Sew. Press. is a new blog that is packed with inspiring finished projects, beautiful photos, quilty goodness and much more!  Everything that Mary of Pin. Sew. Press. makes is constructed beautifully and made out of the cutest fabrics; she has a great eye for design.

Mary’s post will give you some ideas for some last-minute gift ideas for Mother’s Day.  You’ve still got a couple of days left to make something.  Thanks, Mary for compiling this great round-up!

_____________________________________________________________________

Last Minute Sewing for Mom:

Tutorial Roundup by Pin. Sew. Press.

It’s almost Mother’s Day!  How about a handmade gift for Mom this year?

Here are some of my favorite free online tutorials, and I’ve sewn them all!

For the Home

1: Grocery Bag Dispensers, 2: Fabric Basket and coasters (coasters are my own design – no pattern)

~~~~

Accessories

1: Patchwork Pencil Pouch, 2: Stylish Pen Case, 3: Quilted Bible Cover

~~~~

Bags

Row 1: Buttercup Bag, Simple Six-Pocket Tote
Row 2:
Phoebe Bags
Row 3:
Pleated Totes

~~~~

There you have it!  Now go sew something nice for your mom!

Happy sewing!

Mary

Guest Blogger: Tear Drop Clothes Pin Bag Tutorial by Liesl Made

While I’m away, I’ve asked some seriously creative bloggers to offer up some goodies to share with you all.  This is the first in my upcoming series of Guest Bloggers

Today I have for you Liesl, of Liesl Made.  I’ve been following Liesl’s blog for well over a year now, and I can assure you that you will not regret instantly adding her blog to your Google Reader.

Liesl’s blog is a nest of creative tutorials, beautiful photos, inspiring links and the occasional vegan recipe.

Today she’s sharing with you her tutorial for an adorable Tear Drop Clothes Pin Bag.  I am definitely making one of these when I get back from Europe!

 _________________________________________________________________________

Tear Drop Clothes Pin Bag by Liesl Made

Pattern Pieces (click the links below to print):

Piece A
Piece B
Piece C
Pieces D and E

Materials Needed:

  – A little over 1/2 yard (about 20″) of home decor weight fabric
  – A little over 1/2 yard (about 20″) of lining fabric
  – 6” twill tape (I used 3/8”)
  – Pattern pieces:  Back piece A, Back piece B, Front bottom C, Front bottom D, Front top E

Make the Bag:

1.  Start by printing the pattern pieces. There is a 1” scale to be sure each piece is sized accordingly. But if it’s a little off, don’t worry about it–as long as all the pieces are to scale to one another. The finished bag is about 15″ wide by 18″ tall.

2.  Cut out the pattern pieces.  Using tape, connect piece A to piece B to make the clothes pin bag back pattern piece. Connect piece C to piece D to make the front bottom. You’ll now have a total of three pattern pieces.

3.  Cut out one from the fabric and one from the lining for each pattern piece on the fold of the fabric.

4.  Stitch the twill tape to the top of the front of the fabric back piece, about 1/8” from the edge, as seen below. This will hold it in place when stitching later.

5.  With right sides together, stitch the front top fabric and front top lining together along inside curve. Do the same for the fabric and lining of the front bottom piece. Clip in seam allowance to ease the curve. Turn right side out and press. Topstitch along inside curves.

6.  Layer as such:
  – Lining back, right side down
  – Fabric back, right side up
  – Front top fabric and lining that you just stitched together, fabric side down
  – Front bottom and lining that you just stitched together, fabric side down

7.  Pin and stitch a 1/4″ all around the outside edge.

8.  Trim seam allowance to 1/8”. Turn right side out, push seams out nice and neat and press.

9.  Topstitch 1/4″ all around the edge. This will encase the raw edge inside the seam and make for a nice finish.

10.  Fill with clothes pins and voila!

Panty Tutorial: How to Sew Underwear

This tutorial will take you, step by step, through the process of making underwear that fit you perfectly and look great too.  You can click on any of the photos in each step to enlarge them (which will make reading the text on some of them much easier).  Please use this pattern for personal use only, and feel free to link back to this post.

As always, I encourage you to Contact Me if you have any questions throughout the process, I love to hear from you!!

Supplies:

  • 1/2 yard of jersey fabric (up to 1 yard for larger sizes) – It is really hard to find cute jersey, so feel free to repurpose old t-shirts, pajamas or whatever jersey you can find!
  • 2 yard of stretch lace trim (up to 2.5 yards for larger sizes)
  • 1 pair of retired cotton (jersey) panties to become your pattern
  • 1 small piece of 100% cotton fabric for lining
  • ballpoint needles (for sewing through jersey)
  • thread to match

Create the Pattern:

Start with your favorite pair of underwear that have seen better days, these will be referred to as the “pattern underwear”:

1.  Cut off elastic waistband and elastic legbands from the underwear (set these aside for later use):

2.  Cut off lining (no need to use a seam ripper):

3.  Cut along sides of panties (follow the seam lines).

4.  Cut along bottom seam to create 3 separate pattern pieces (Note:  some underwear will differ from mine below, if that’s the case you may need to add a 4th pattern piece and adjust the steps accordingly):

5.  Find the center line of the front and back pieces and mark it in pen.  Fold the pattern underwear in half along this seam.  Fold your pattern paper in half and match fold lines.  You will be tracing your pattern on the fold so as to create a symmetric pattern piece:

6.  Before cutting, determine how stretchy your jersey is.  If it has about the same stretchiness as your pattern underwear, trace your pattern to the same size as the pattern underwear, but add a ½ inch seam allowance all around.  If it has less stretch than your pattern underwear, consider tracing your pattern a bit larger than your pattern underwear (also add ½” seam allowance).  If it has much more stretch than your pattern underwear, consider tracing your pattern a bit smaller than your pattern underwear (also add ½” seam allowance).

7.  To create the lining pattern piece, make your pattern the exact same size as the lower part of the front piece, yet keep the length the same as the piece you cut from your pattern underwear.

You have now created your pattern!

Cut Pattern from Fabric:

8.  Cut out your pattern pieces from your fabric – take care to place the patterns on the fabric so that they will stretch the most from side to side rather than top to bottom.  I use a rotary cutter for this, but if you are using scissors, be sure to pin well before cutting.  For the sake of hygiene, if the jersey fabric you are using for the panties is not 100% cotton, you should cut the lining piece out of fabric that is.

9.  At this point you can serge with a rolled hem around all of the pieces, but this is not necessary, since jersey will not fray and all edges will be covered by the lace.  If you do decide to do this, do not yet serge around inside leg edges.

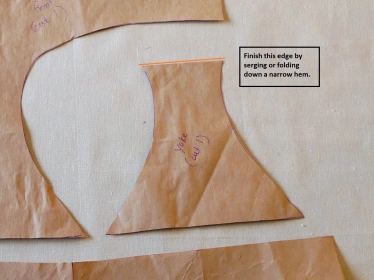
10.  Finish the short end (marked in orange below) of the lining piece as this will be exposed on the inside of the panties.  You can do this by serging, or by folding down a narrow hem and stitching it in place:


Construct the Panties:

11.  Place your pattern pieces on your workspace in the following order, lining the bottom edge (as pictured below):

-Front Piece, right side up

-Bottom Piece, right side down

-Lining, right side down, long edge on bottom

Stitch along the bottom edge (marked in orange) using a ½” seam allowance.  Use a stretch stitch or a zig zag stitch.

12.  Fold lining up towards front and iron it down:

Using a zig zag stitch, sew down the lining to the front side on the two sides (marked in orange).  Alternatively, you can hold the lining in place by serging the leg edges, if you like:

13.  Lay your stretch lace trim out next to the leg band of elastic that you removed from your pattern pieces.  Cut your lace trim to the same length:

14.  Pin the two ends of the lace to both ends of one leg opening, with the lace sitting directly on top of the right side of the fabric. Pin the center of the lace to the center of the seam:

15.  Using a zig zag stitch, stretch the trim so that it sits straight onto the fabric (see my demo video posted below).  You will be stitching it in place in two places:  first along the innermost edge of the lace and then on the part of the lace that touches the raw edge of the fabric (this is made more clear in the video):

Here is a video where I demo how to sew the stretch lace onto the underwear:

16.  Repeat for the other leg:

17.  Lay your stretch lace trim out next to the waist band of elastic that you removed from your pattern pieces.  Cut your lace trim to the same length:

18.  Pin the two ends of lace to both ends of the back piece waist line, and once in the middle, with the lace sitting directly on top of the right side of the fabric:

19.  Using a zig zag stitch, stretch the trim so that it sits straight onto the fabric (see video above).  Again, you will be stitching it in place in two places:  first along the innermost edge of the lace and then on the part of the lace that touches the raw edge of the fabric.

20.  Repeat for the front waist band:

21.  Bring the front and back pieces together, right sides together.  stitch along the two side seams (marked in orange), using a ½ inch seam allowance.  If your front and back pieces aren’t exactly the same size at the sides, that is OK, just stretch the smaller side to make them even.

22.  Turn them inside out and admire your adorable new panties!  Now you know how to make underwear!  Be sure to keep your pattern and make any adjustments needed so that the next time you make them they will be just as lovely.

_________________________

CLOSED:  Giveaway!!!!

I’m going to giveaway enough jersey and matching stretch lace trim for one winner to make a pair of these panties!  Just leave a comment to be entered (if you’ve already commented then you have entered).  You can receive one more entry for following my blog or letting me know you already do (leave another comment).  I’ll pick a winner next Wednesday, March 17th.  Good luck!!

Simple Smocked Skirt Tutorial

This skirt came together in no time flat.  If you’ve got about a yard of fabric and some elastic thread on hand, you can make this right now.  Here’s how I did it (click to enlarge and/or print):

I love how this looks with a thick belt and leggings.  It’s also super comfortable since elastic thread is very forgiving.  If you’ve never used elastic thread before, I recommend reading this tutorial first.

If you decide to try out this skirt, let me know how it turns out!  I’d love to see photos!

Simple Zipper Closure Pillowcase Tutorial

IMG_4026

CLICK HERE for Zipper Closure Pillowcase Tutorial

The zipper closure pillowcase tutorial is complete and ready for you to download/print/use to your heart’s content!  I make all of my home decorator pillows this way.  It’s a super easy and quick way to make a washable pillowcase and the result turns out very professional and durable.

This is the method my sister-in-law taught me when I first started sewing, and I think it’s just genious!  Please feel free to provide me with any feedback.

mosiac4

As noted on the tutorial, you’re welcome to use this for personal use, or to sell items made with this tutorial (I don’t claim to have discovered this method!).  Do not sell this tutorial, as it is offered for free here (seems obvious, but I had to say it).

Enjoy!

Tutorial Round Up

I’ve been holding out on you.

I’ve been making a list of all my favorite tutorials from around the blogosphere, and I have selfishly kept them all to myself.  Not any more!  Below you will find some of the most practical, fun and inspiring tutorials out there (according to me…).  Check them out.  Bookmark them.  Plan your spare time around them.

NOTE:  These are not my tutorials.  These are links to tutorials I have tried and found to be great!

Click the pictures below to launch the tutorials.

Speedy Quilt Tutorial

Katie Did - Simple Quilt

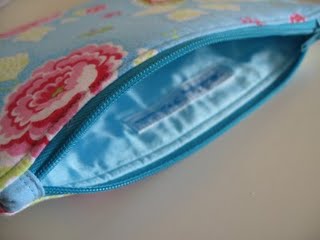
Lined, Zippered Pouch Tutorial

Flossie Teacakes - Zippered Pouch

four-blocks

Film in the Fridge - String Quilt Block

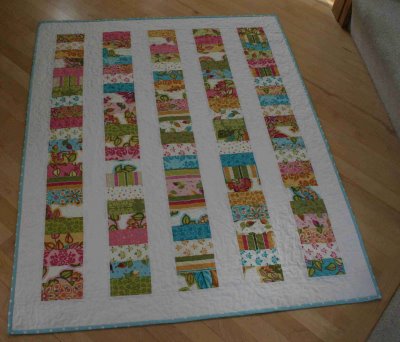
Moda Bake Shop - Stacked Coin Quilt

Moda Bake Shop - Stacked Coin Quilt

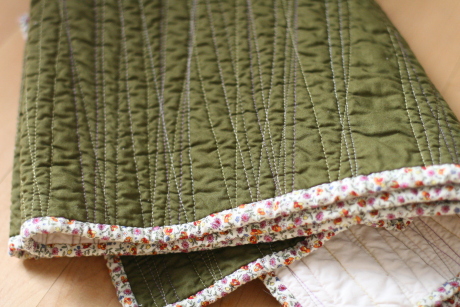
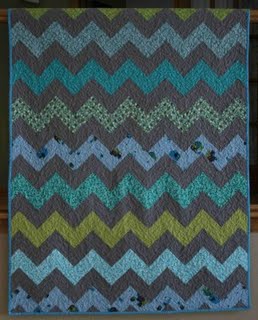
Crazy Mom Quilts (via Bee Square Fabrics) - Simple Zig Zag Quilt

Crazy Mom Quilts (via Bee Square Fabrics) - Simple Zig Zag Quilt

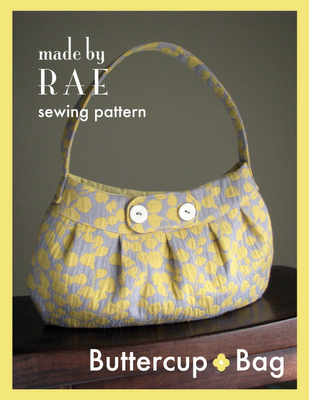
Made By Rae - Buttercup Bag Pattern

Made By Rae - Buttercup Bag

Quality Time - Dresden Petal Handbag

Quality Time - Dresden Petal Handbag

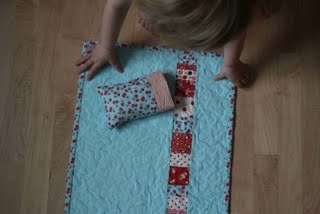
Crazy Mom Quilts - Doll Bedding

Crazy Mom Quilts - Doll Bedding

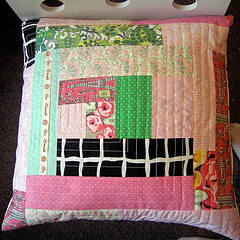
Dacia Ray - Log Cabin-ish Pillow

Dacia Ray - Log Cabin-ish Pillow

House on a Hill - Sunny Day Dress and Top

House on a Hill - Sunny Day Dress and Top

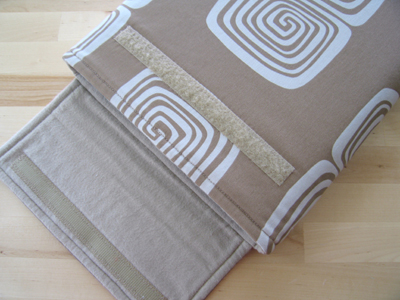
Oh, Fransson (via Sew, Mama, Sew!) - Laptop Sleeve

Oh, Fransson (via Sew, Mama, Sew!) - Laptop Sleeve

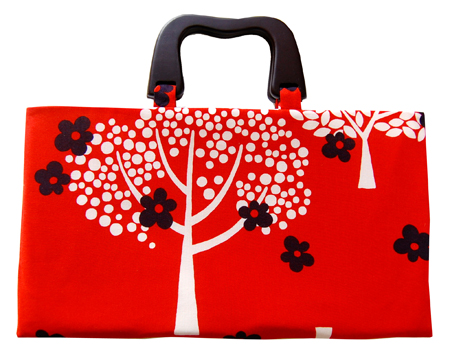
Jennifer Ladd (via Sew, Mama, Sew!) - Fat Quarter Handbag

Jennifer Ladd (via Sew, Mama, Sew!) - Fat Quarter Handbag

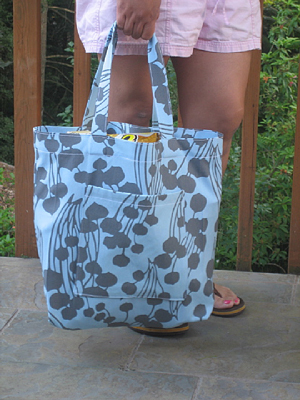
Irene (via Sew, Mama, Sew!) - Classic Tote

Irene (via Sew, Mama, Sew!) - Classic Tote

Dacia Ray - Free Skirt Pattern

Dacia Ray - Free Skirt Pattern

Made By Rae (via Sew, Mama, Sew!) - Simple Ruffle Top

Made By Rae (via Sew, Mama, Sew!) - Simple Ruffle Top

Oh Fransson (via Sew, Mama, Sew!) - Pincushion Organizer

Oh Fransson (via Sew, Mama, Sew!) - Pincushion Organizer

Cluck. Cluck. Sew. - Changing Pad and Wipes Holder

Cluck. Cluck. Sew. - Changing Pad and Wipes Holder

Crazy Mom Quilts - Checkbook Covers

Crazy Mom Quilts - Checkbook Covers

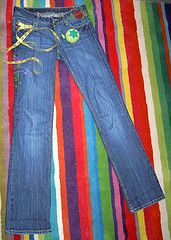
Dacia Ray - How to Hem Jeans

Dacia Ray - How to Hem Jeans

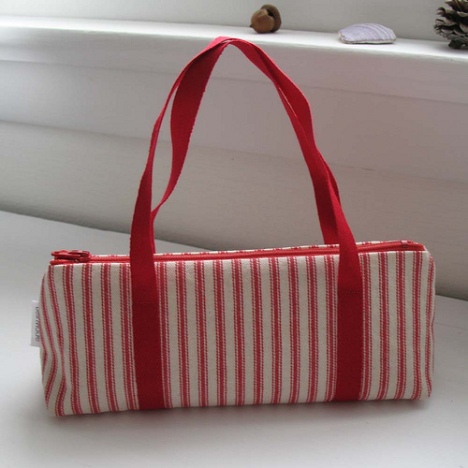
Liesl Made - Make-Up Bag

Liesl Made - Make-Up Bag

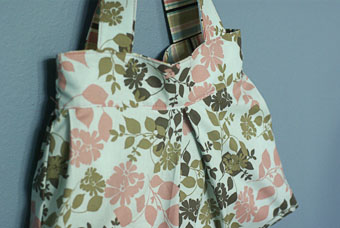
My Spare Time - Pleated Purse

My Spare Time - Pleated Purse

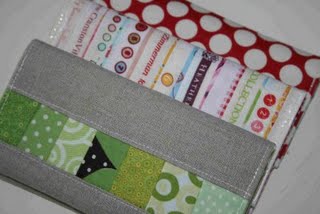
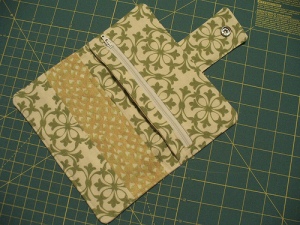
Confessions of a Fabricaholic - Wallet

Confessions of a Fabricaholic - Wallet

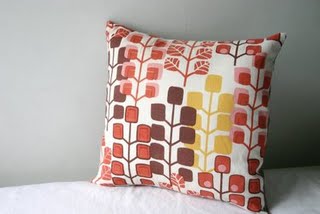
Sparkle Power - Removable Pillow Cover

Sparkle Power - Removable Pillow Cover

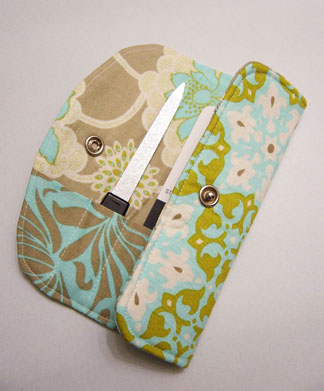
dhbuscher - Manicure Kit Cover

dhbuscher - Manicure Kit Cover

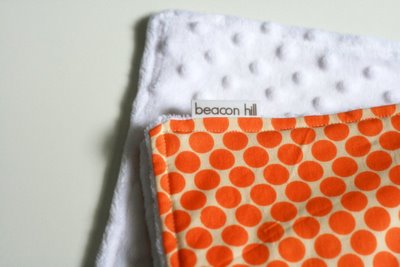
iCraft - Minky Blanket

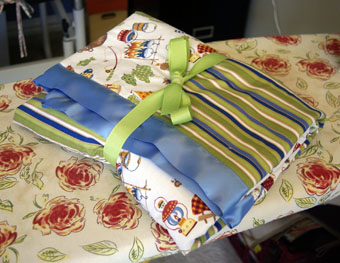
iCraft - Minky Blanket

My Spare Time - Simple Baby Blankie

My Spare Time - Simple Baby Blankie

Sweet Jessie (via Sew, Mama, Sew!) - Scalloped Fabric Garland

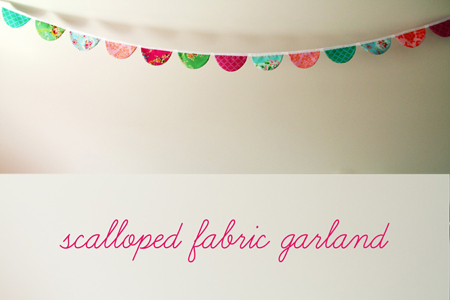
Sweet Jessie (via Sew, Mama, Sew!) - Scalloped Fabric Garland

Tumbling Blocks - Honeycomb Smocking

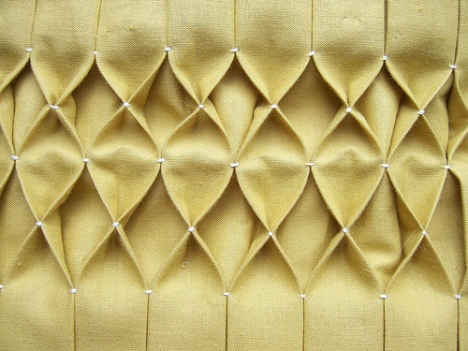
Tumbling Blocks - Honeycomb Smocking

I’ll update this list as I find and test new tutorials and publish a link to this post on my Tutorials page.

Enjoy!!

Tutorial: How to Make a Digital Quilt Mock Up

mosaicbc870dcc554d9f5a17641bca88226be593265c78

Click Photo to Enlarge

Choosing fabrics colors and placement for a quilt can be a difficult decision.  When I started my first quilt, I wanted to be able to “preview” it before it was set in stone (or thread, I suppose).  So, I decided to create a digital mock up, using the most basic computer program I had…Paint!

The first thing to mention is that I do not have any special software for editing/creating images (such as Photoshop or something similar).  This is why I ended up doing this in Paint.  If you have a Microsoft-based computer, you should have Paint.  If you don’t have this program, I’m sure there are plenty of other great programs out there that will make this possible, but I wanted to find the simplest (and cheapest…Photoshop is pricey!) solution.
 
Open Paint.  To find this program on your computer, click the Windows/Start button on your PC, click All Programs, and click Accessories.  Paint should be somewhere in the middle (circled below).

paint

Click Photo to Enlarge

Save the image of your Quilt Pattern to your desktop and right click on the image and click Open with Paint.  For me this was easy since I was following a digital Quilt Along.  I was able to use the image that Oh, Fransson had posted of the Mod Sampler Quilt as my pattern.  If you’re using a pattern you purchased and do not have a digital copy of it, you can either scan the pattern to your computer, or try creating the layout from scratch in Paint (or an equivalent image editing software).

quilt along

Next you need to open your web browser and begin running searches for each of the fabrics that you are planning to use in your quilt.  Try doing a Google Image Search and typing in the name of the fabric. 

You can see that I typed in Daisy Chain Amy Butler and found some good results.  I decided to use the one that I circled below.  Simply open up the image (you may need to click See Full Sized Image) then right click on the swatch and save it to your desktop.  Since you will be saving many swatches to your desktop, I like to rename the image to the title of the fabric.

google image search

Click Photo to Enlarge

Find each fabric you’re planning on using in your quilt and save each image as a copy to your desktop.  If you don’t know the name of the fabric, or can’t find photos online, get out your digital camera, go somewhere with a lot of natural light and try to get some good close-up photos of your fabric.  You can use these photos in the same way you would use an image you found online.
 
Open your first fabric swatch in Paint (alongside your quilt pattern which should still be opened in another window of Paint).

CaptureHighlight the Select tool in Paint (see image to the left). 

Using the Select tool, highlight a section of your fabric swatch that cooresponds to the shape you are pasting it to.  For example, if the first quilt piece in your pattern that you will be using is a square, select a square of your fabric swatch.  Don’t worry about the size or scale of the square you select, you will be able to adjust that later. 

While selecting the swatch, click Ctr+C.  Tab back to your other window in Paint, which has the Quilt Pattern open, and click Ctr+V to paste the image to your pattern. 

Now you can drag the swatch to where you want it and adjust the size to match your pattern. 


Capture2

The image above shows just after I have pasted my swatch into my pattern and moved it to the correct place, but before I have resized it to fit the pattern.

Capture3

Click Photo to Enlarge

The image above shows how the piece looks once I have adjusted the size and shape of the swatch to match my pattern piece.

Quick Tip:  Once you adjust the size/shape of a fabric swatch the be the correct scale needed for a pattern, you can make an exact copy of the swatch by holding the Control key and dragging the swatch to the next needed spot.

As you can see below, for my pattern I will need an exact replicate of the first square I created to be in the upper left hand spot of my first block.  So, to do this I held down the Control key and moved it to the new location.  Here is the result I got:

Capture4

Click Photo to Enlarge

Repeat these steps until you have replaced every piece in your pattern with a swatch from your fabric.  Remember, if you need to paste a long, skinny shape for the binding, just highlight a very long/skinny swatch from the fabric and once you paste it into the pattern you will be able to adjust the length and width.
 
EDIT:  I received an email from a reader named Jennifer who had some great suggestions for how to use this method for shapes other than squares and rectangles.  Here’s what she had to say:

“To do circles, paste your swatch to the side of your pattern.  Use the circle tool to draw a circle on top of your swatch (hold the shift key to get a circle rather than an oval).  Then, erase what’s around your circle.  You can then select that area using the regular select tool and move it to your pattern just like a square.  Just remember to go to “Image” and remove the check mark beside “Draw Opaque”.  You could do the same type thing for a triangle, but there’s not a real tidy way to do the triangle.  You can also select whatever shape you want (curves even) using the other select tool.”

Thanks, Jennifer!

I used this process in my post entitled Help Me Choose as a way to test out different color options for sashing fabrics.  I’m so glad I used it too, because I am very happy with how my quilt turned out!
 
I hope this works out for you, let me know if any part of the process is confusing or too complicated.  Post your results!  I’d love to see what all you creative people come up with!
 
Good luck and happy quilting!