Rather than try to explain why it has been roughly 9 months (yikes!) since I last posted, I’m just going to jump right back into it by saying it’s been quite the year!
My sweet boy, Asher, turned ONE last week. Naturally, I had to throw him an elaborate party that he’ll never remember! I went with a Sock Monkey theme, and had such a fun time planning all the details.
Here was the invitation photo, I just loved his sweet little wave!

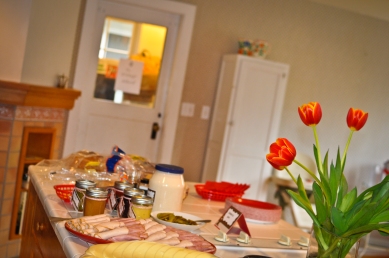
I opted for a lunchtime party, and did a Sandwich Bar, complete with all the bread, meat, veggies and condiment choices you’d want. To make things uber-cute, I put all the condiments in mason jars and wrapped them with stripy twine and pretty labels. Because a yellow mustard jar just isn’t cute enough for me :).
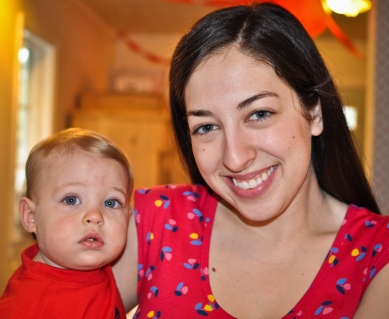
Here’s me and the Birthday Boy. He had this look on his face just about all day — a little confused and overwhelmed but very taken in by all the sights and sounds. Love those bottom two teeth poking through :).
Some of the more fun details were “Pin the Tail on the Sock Monkey” (drawn by my talented mom!):

And a “Create Your Own Sock Monkey Puppet” station (inspired by this):

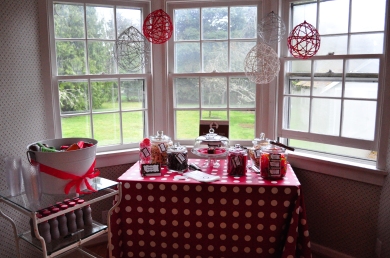
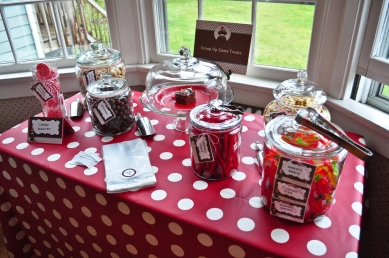
But the real star of the show was the Candy Buffet. I had all sorts of yummy treats for kids to scoop up, including Gummy Bears, Banana Chips, Animal Cookies, Swedish Fish, Whoppers, Gummy Worms, Lollipops, and Red Vines. The drink table had Chocolate Milk right at kid height, and I loved watching the littles ones grabbing milk after milk!

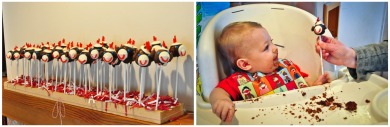
Asher got his own Smash Cake, which he thoroughly enjoyed:

The Sock Monkey Cake Pops were a huge hit (although they were not easy!!); they turned out so cute!
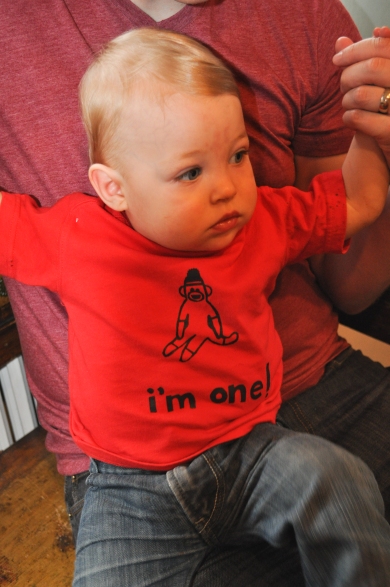
I made Asher an “I’m One!” Sock Monkey shirt using the Freezer Paper Stencil method.
All in all the party was a huge success. Don’t expect something like this every year though, Little Boy!
Filed under: Parties | 8 Comments »


